postgresql数据库安装

postgres安装教程
简介
目前网上有很多mac安装postgres的教程,完全按照那些教程安装,有的可能会出现各种问题,使得安装失败。
经过自己的多次失败安装后,将在安装过程中的细节整理一二,希望有像我一样困扰的朋友得以解决问题;
本文档解决了mac上安装报错等问题,顺便提供了docker安装过程中的一 些需要注意的细节以及提供了Centos上使用源码安装postgres的步骤;
本人亲测可行,希望可以帮助需要的人。
1. mac安装PostgreSQL
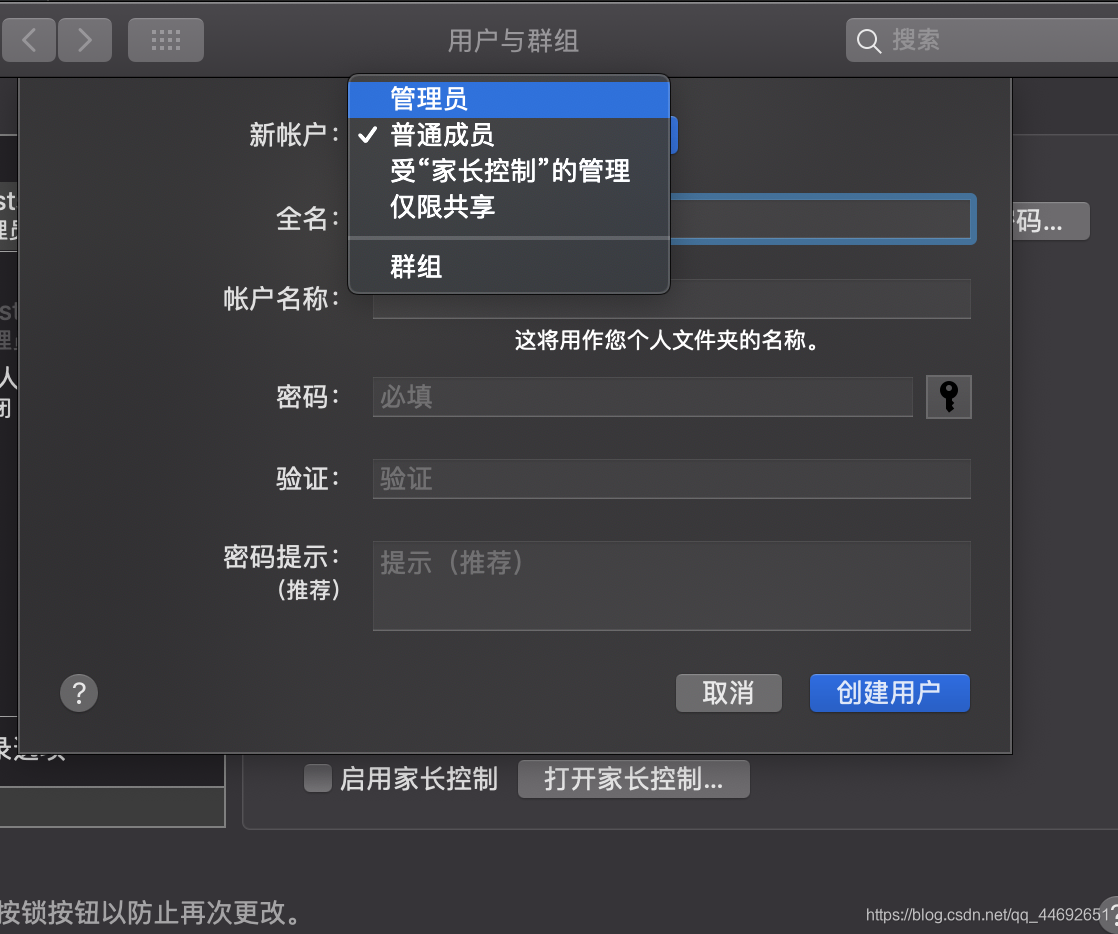
1 | 1. 在mac的 系统偏好设置-->用户与群组-->解锁-->点+-->新建用户 |
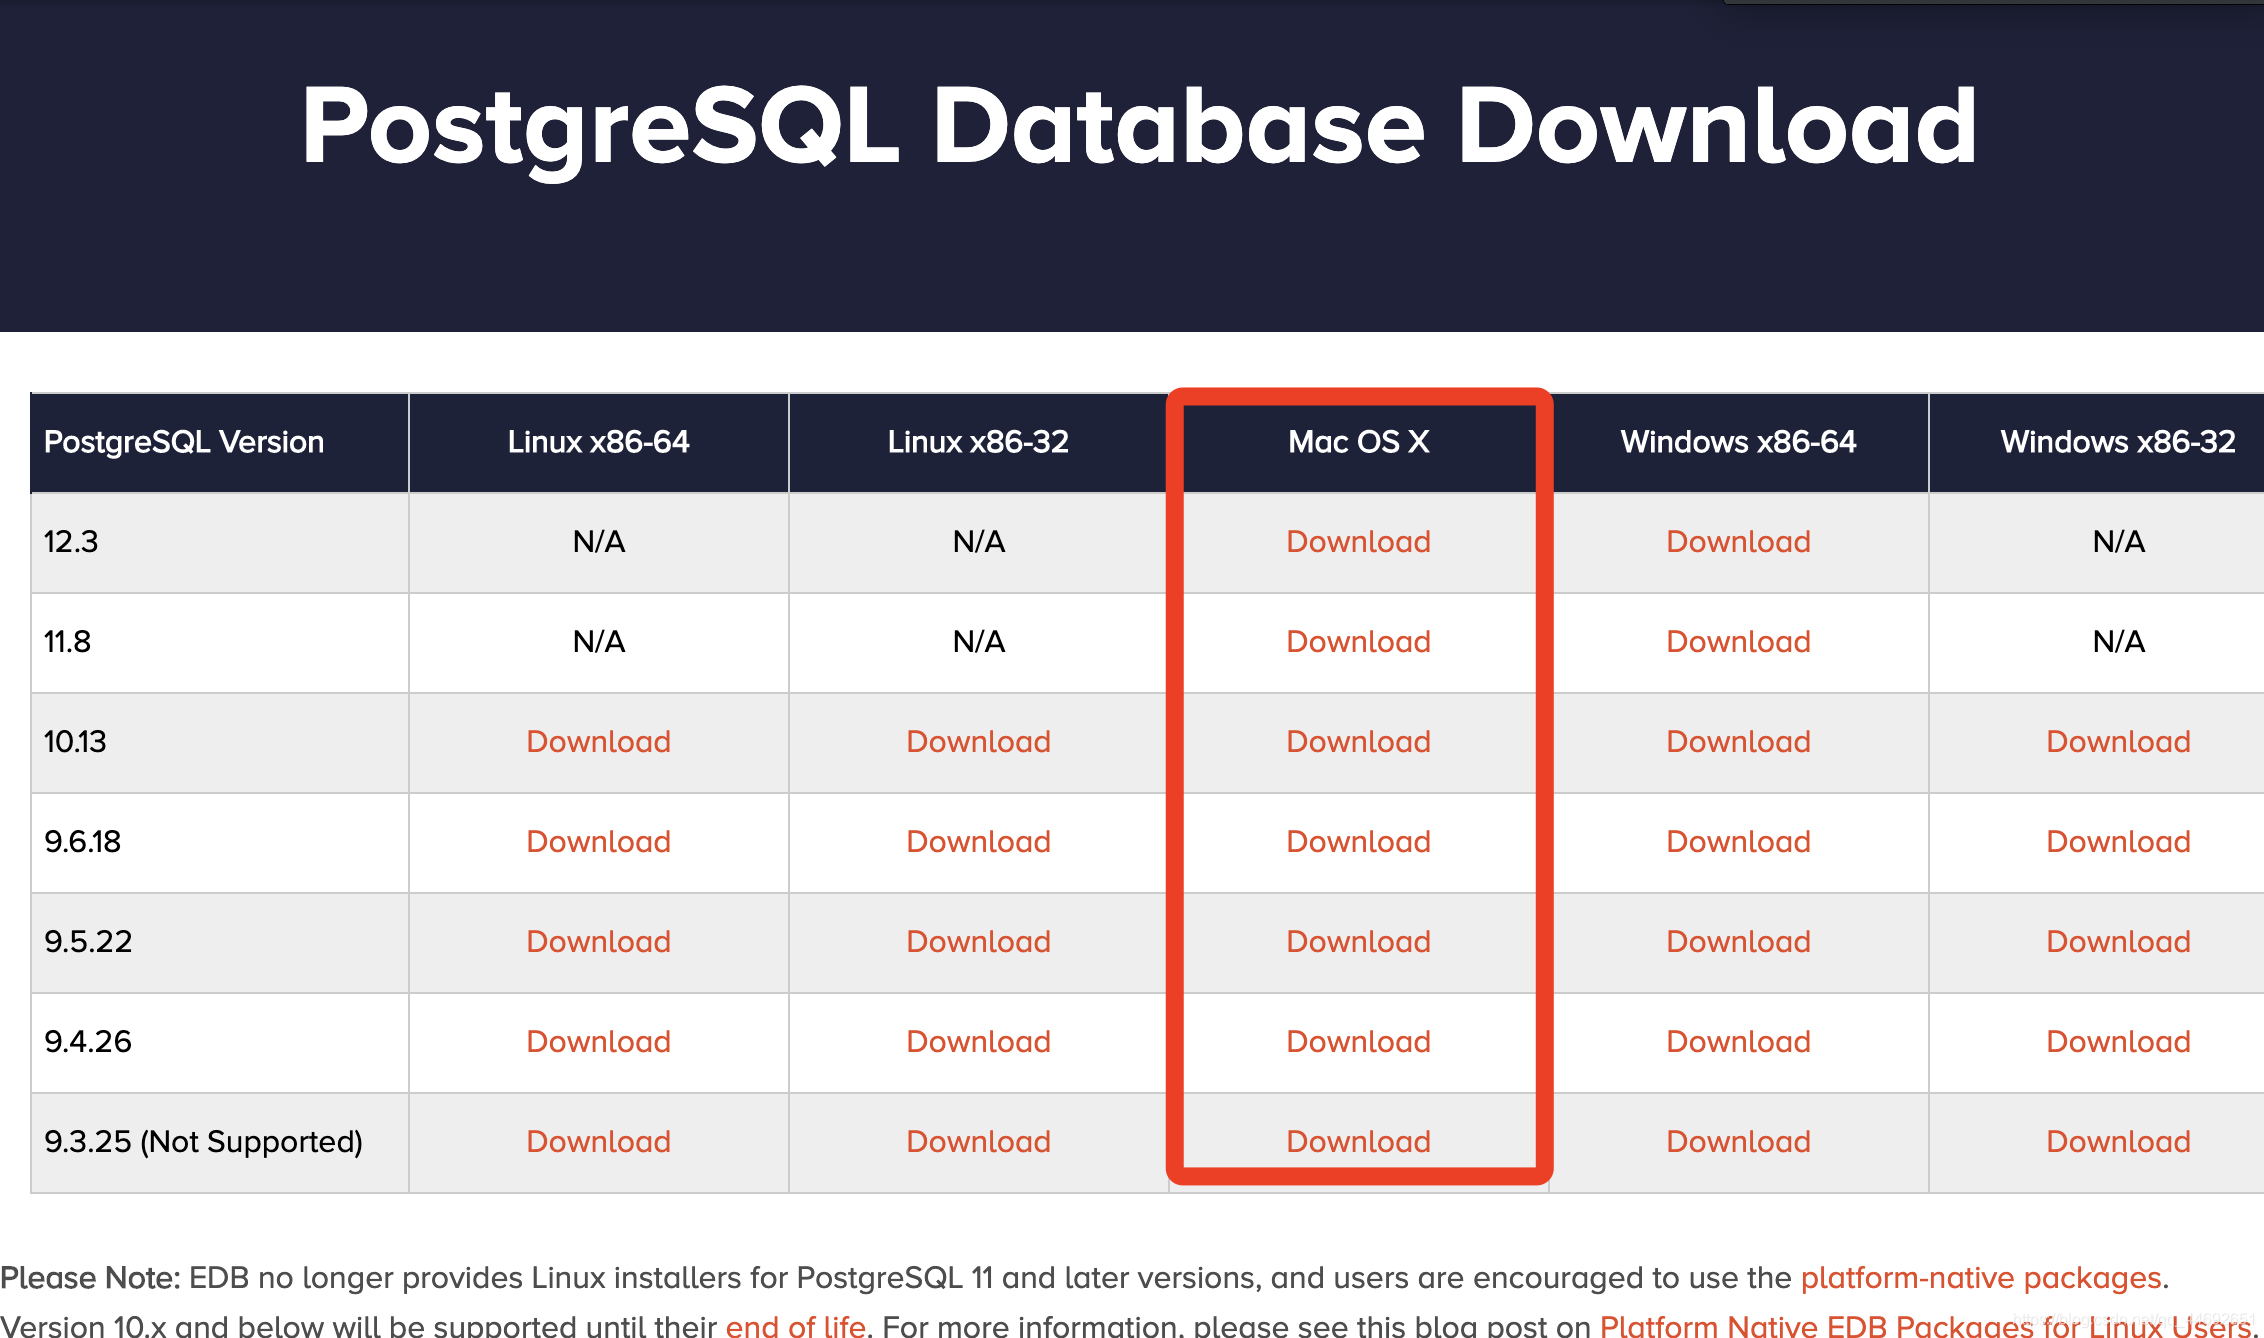
1 | 2. 下载安装包 |
1 | 3. 打开下载的安装包,在安选择安装位置时,选择刚才新建的用户下的一个文件夹内(即 postgres用户下自拟一个文件夹) |
如图 ,将默认的这个文件位置: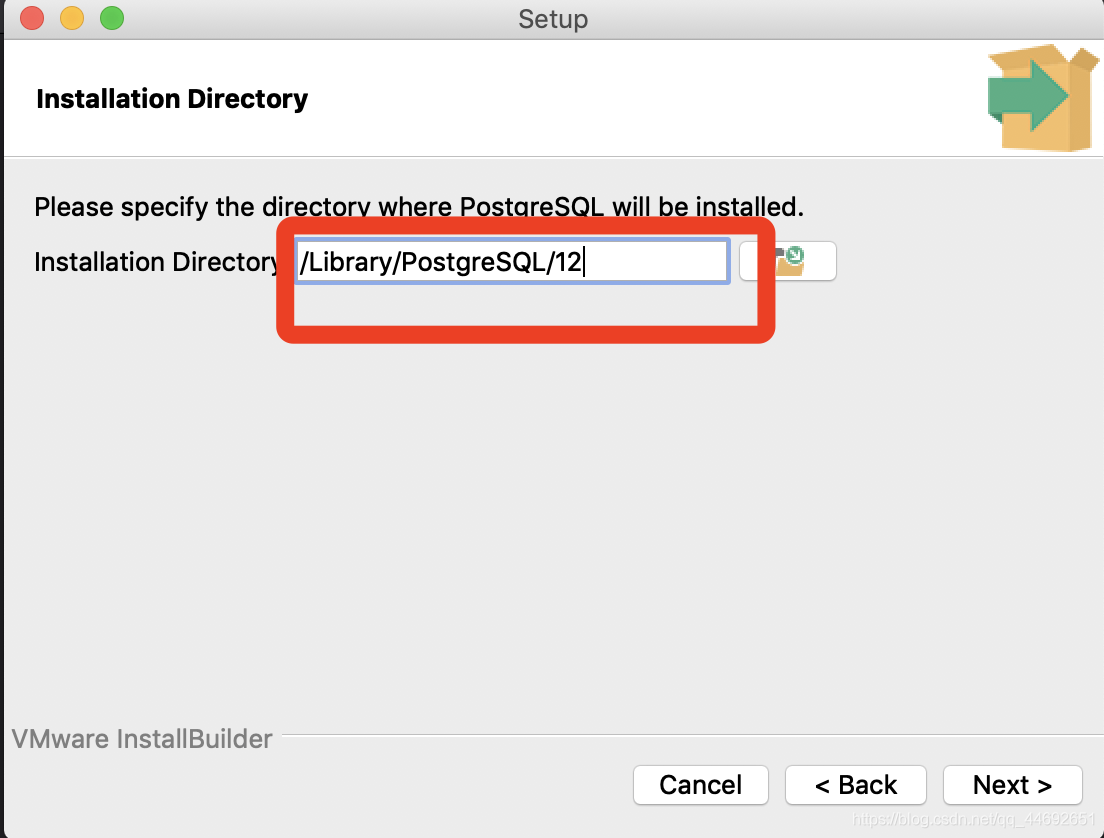
替换为自建的postgres用户下: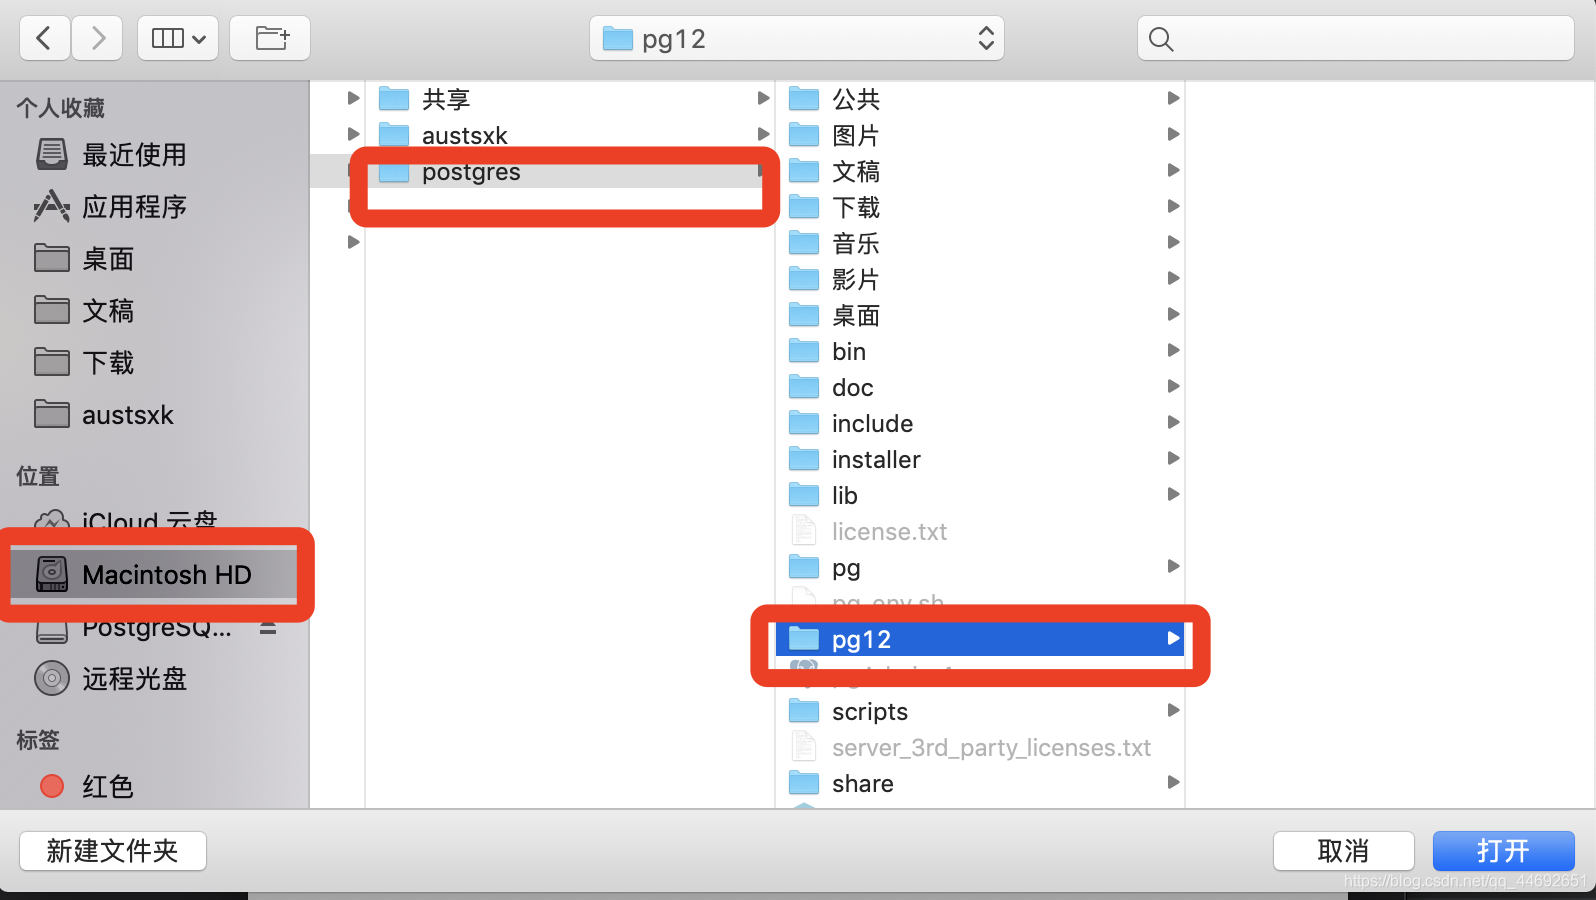
然后一直next,其中包括密码要记住,后面登陆要用,注意在选择
选择为: zh_CN.UTF8
然后继续next 即安装成功;
1 | 4. 在当前用户下,启动数据库 |
打开后输入数据库相关信息,其他信息可以默认,但是密码是当时安装时的密码: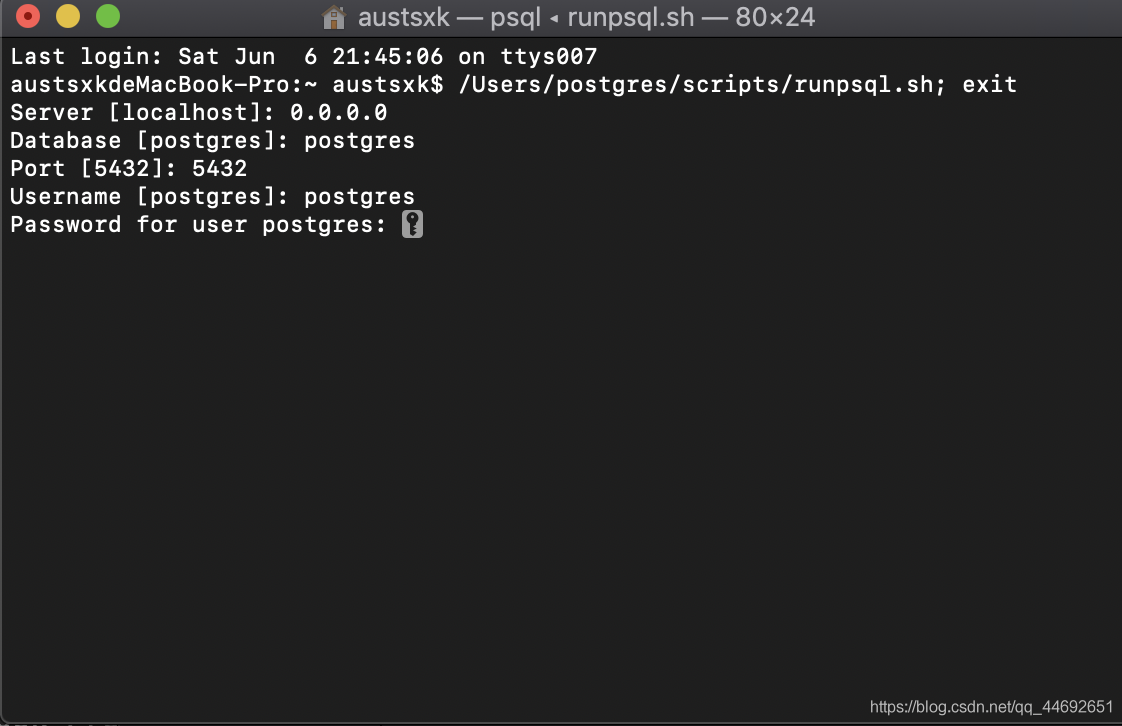
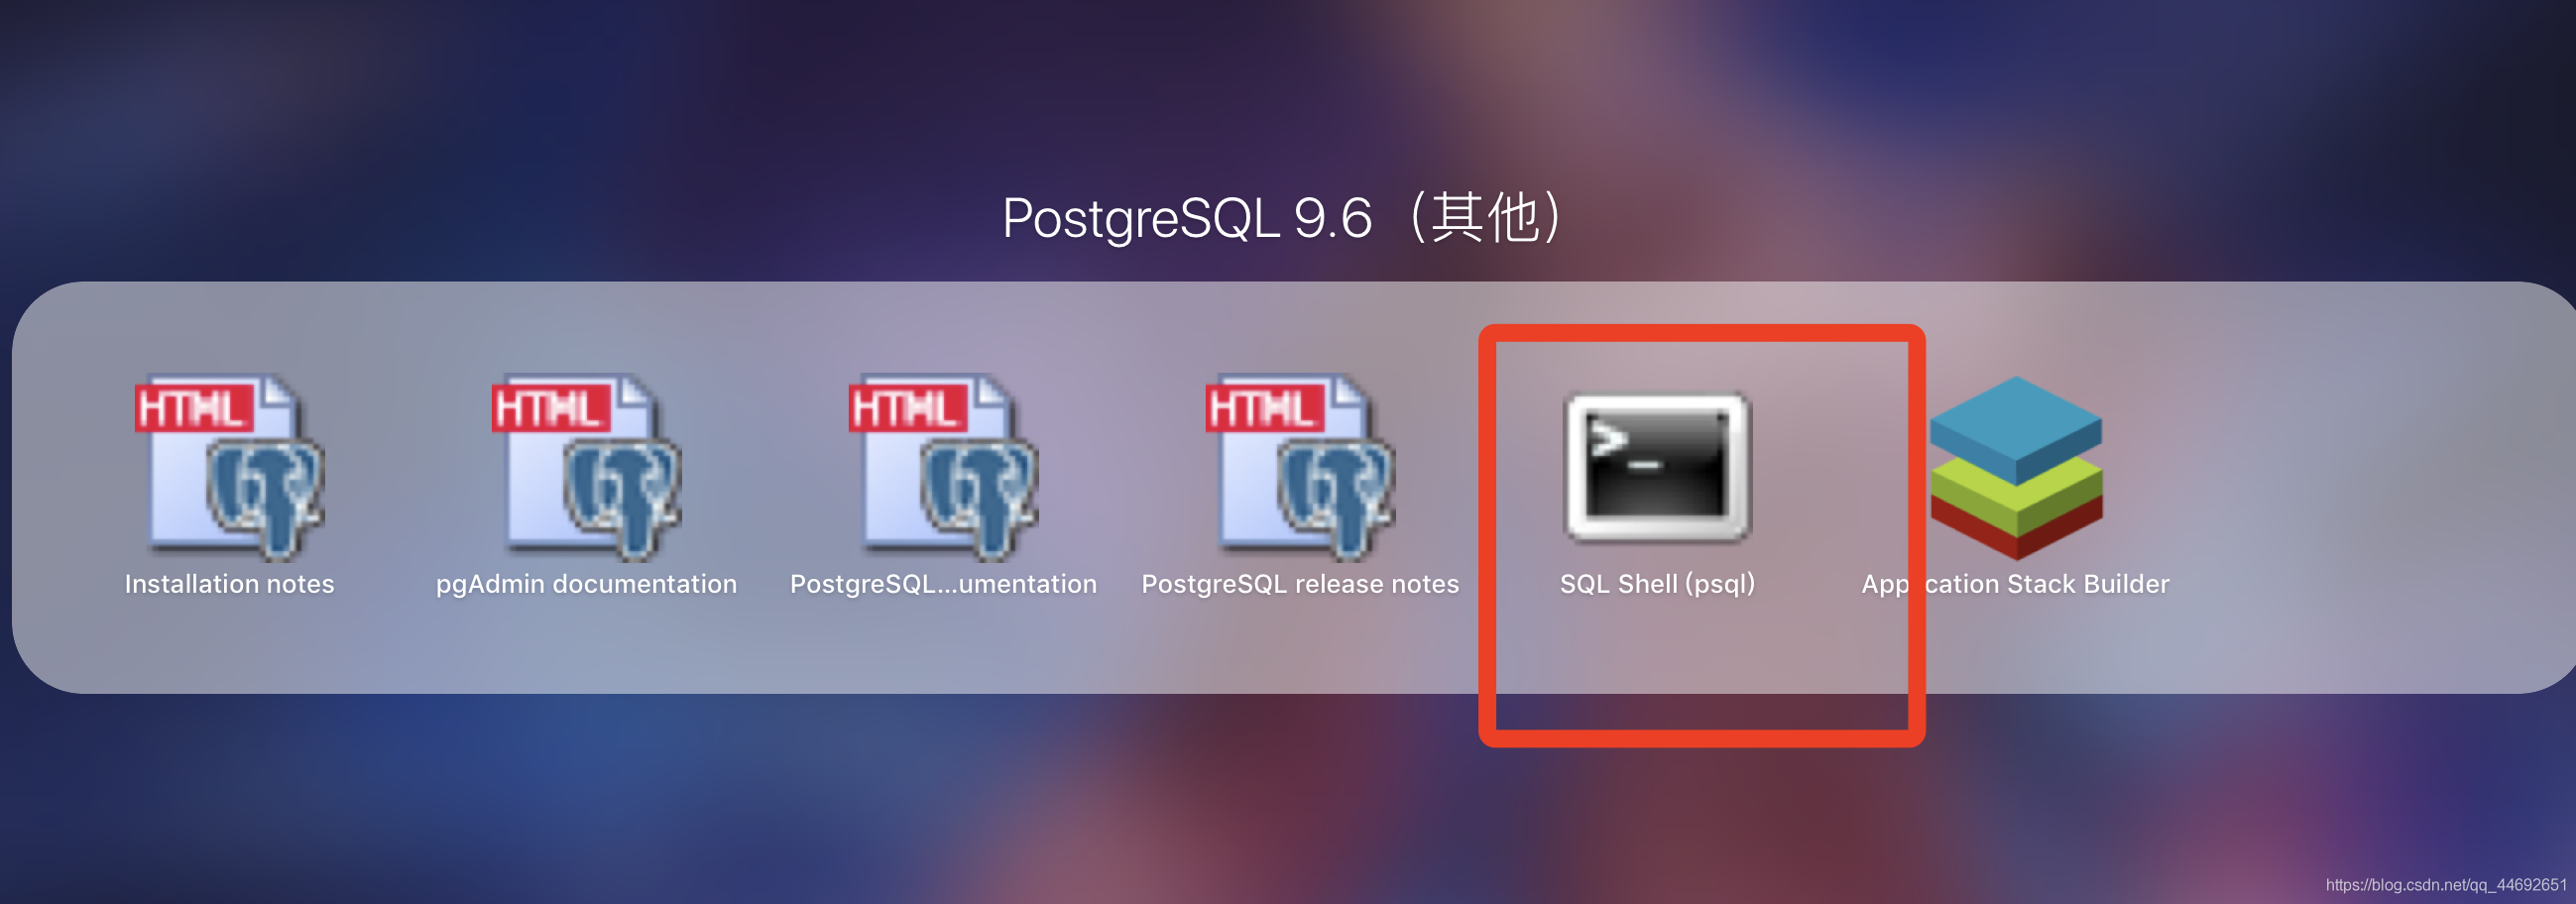
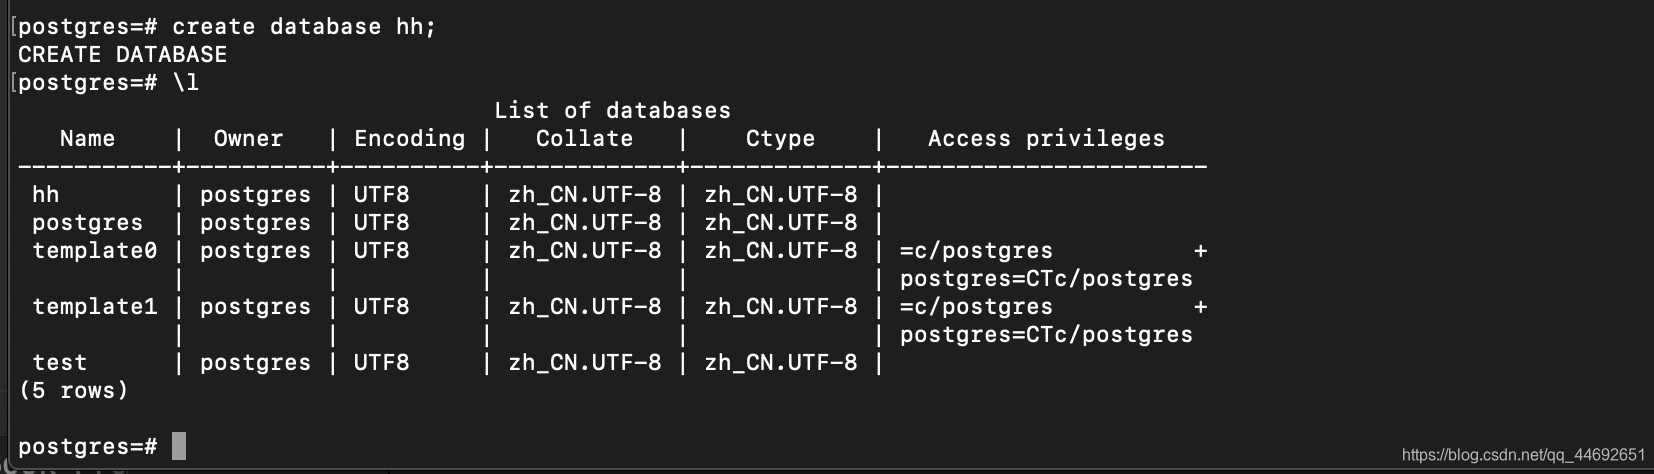
1 | 5. 终端使用 |
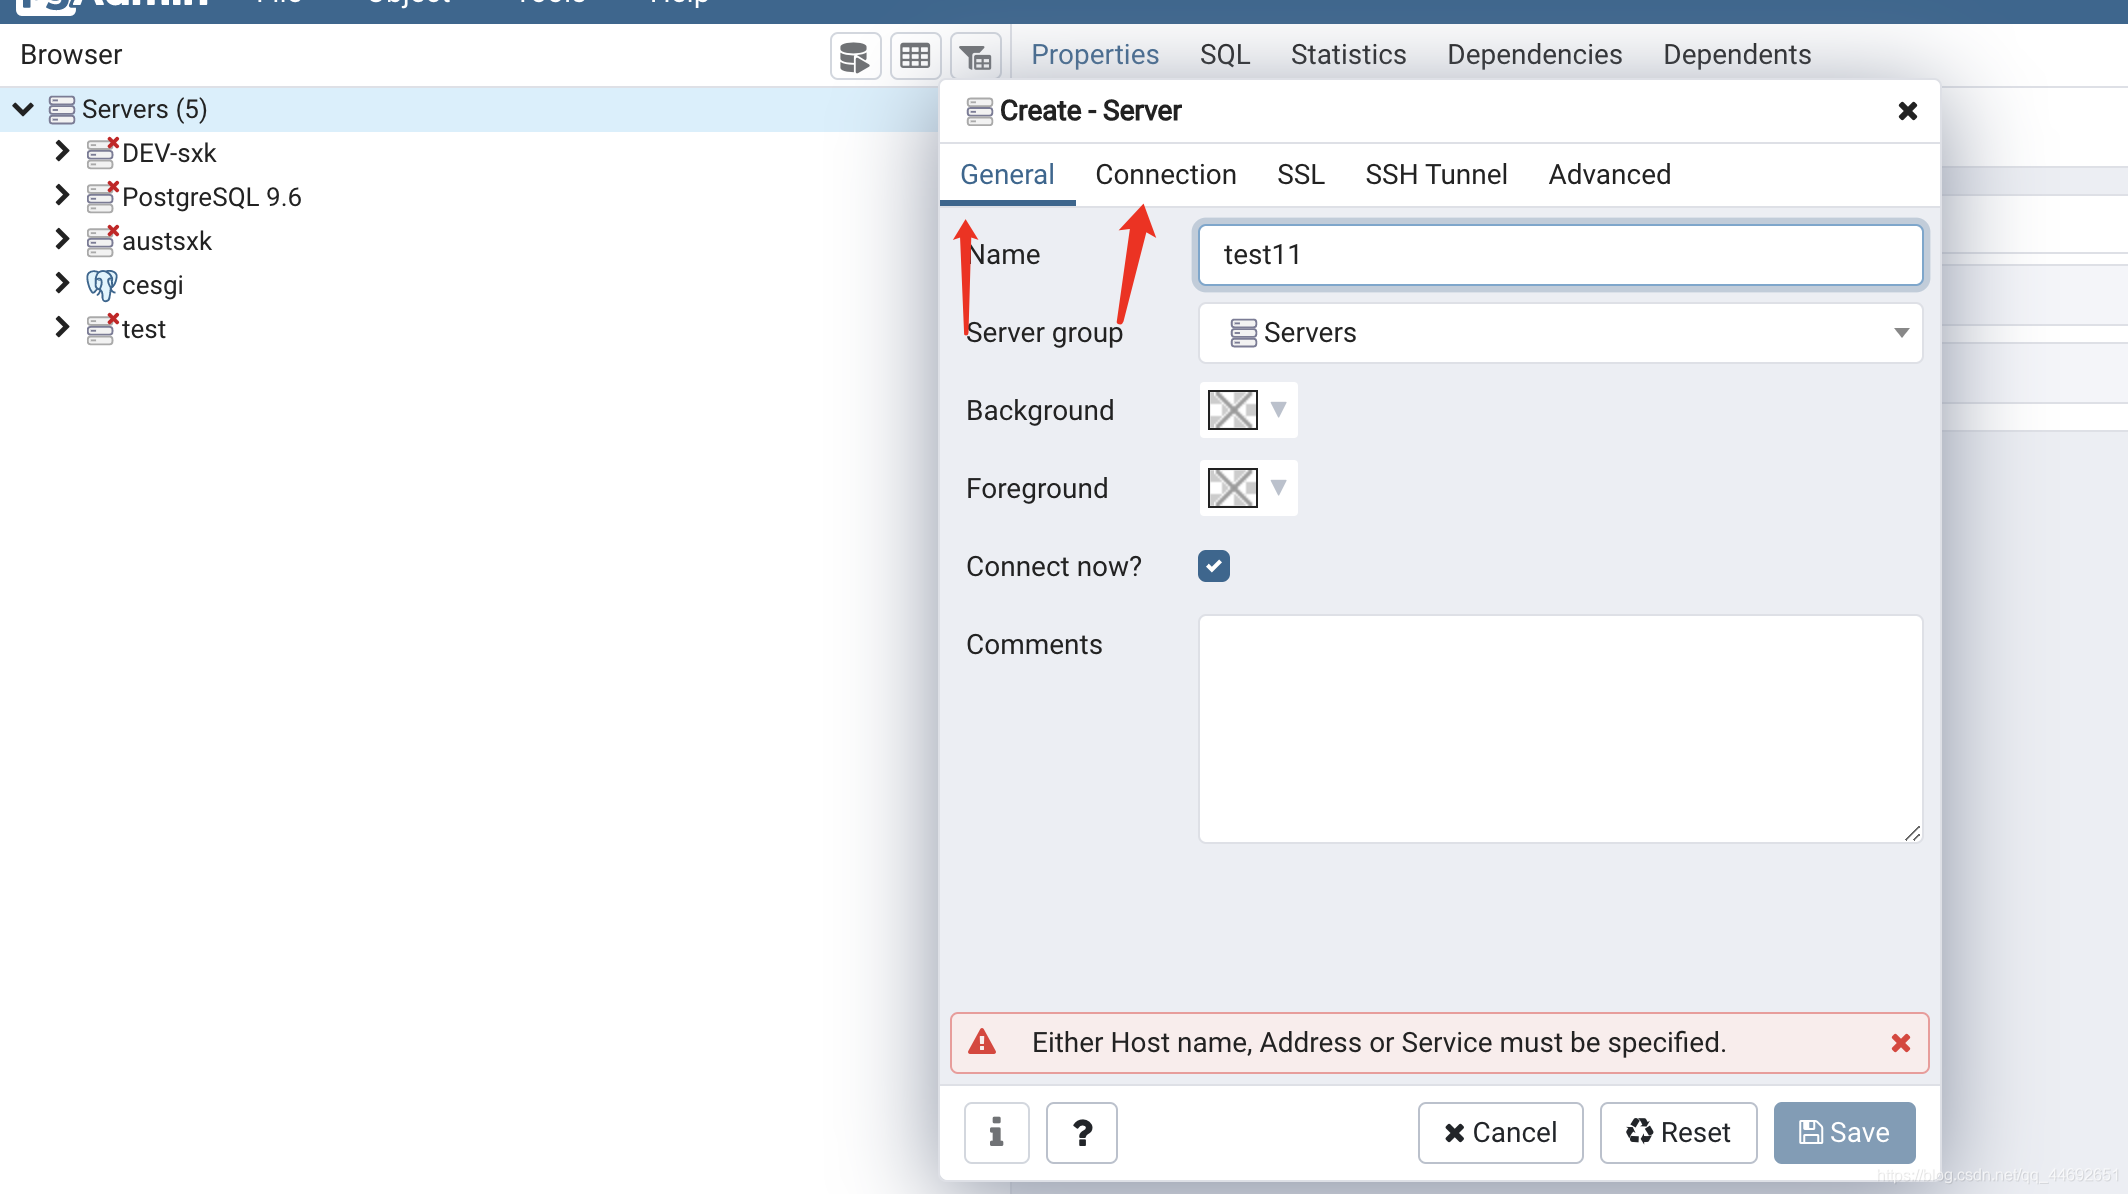
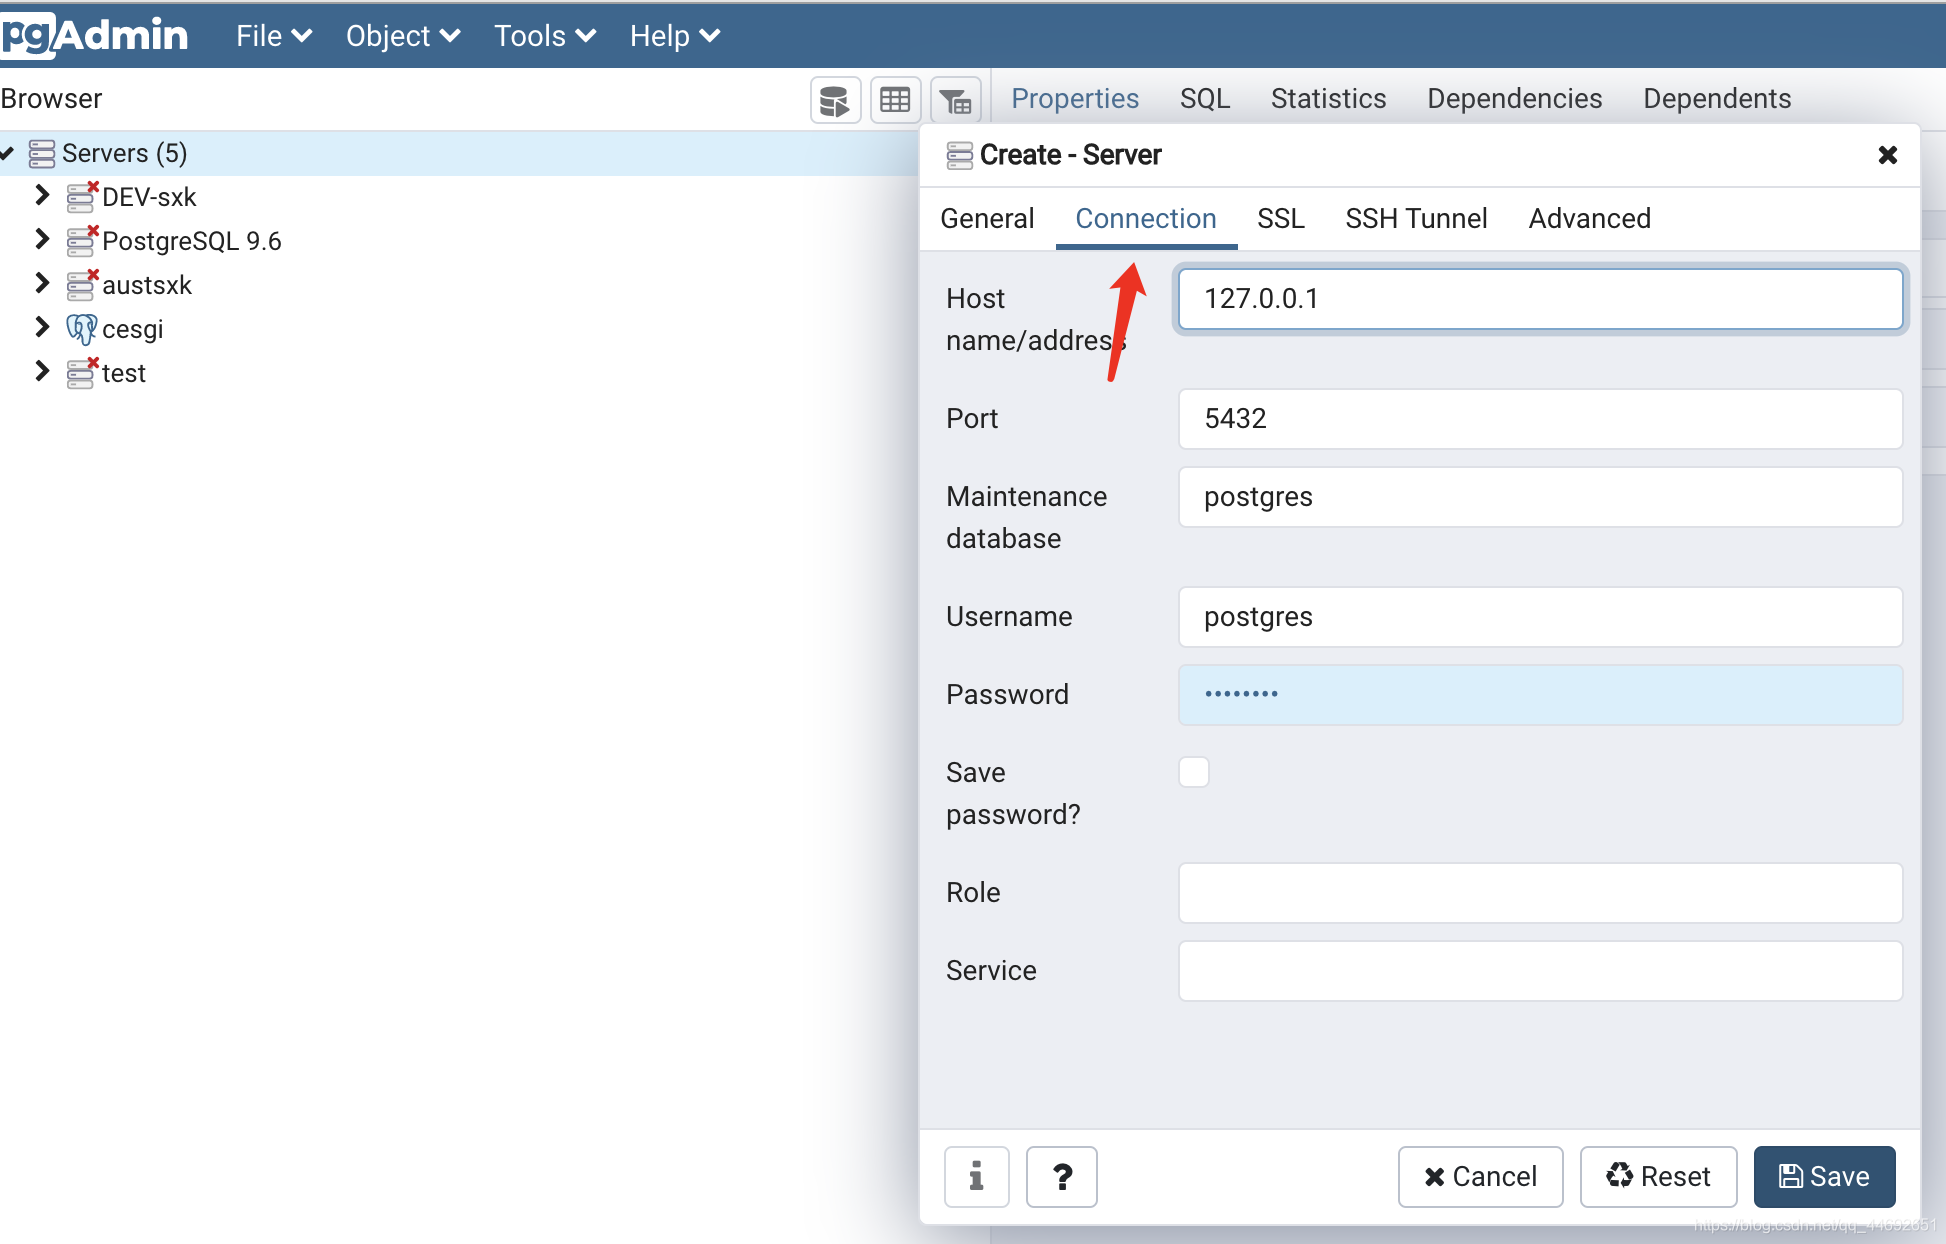
1 | 6. 使用pgAdmin4链接数据库 |
连接成功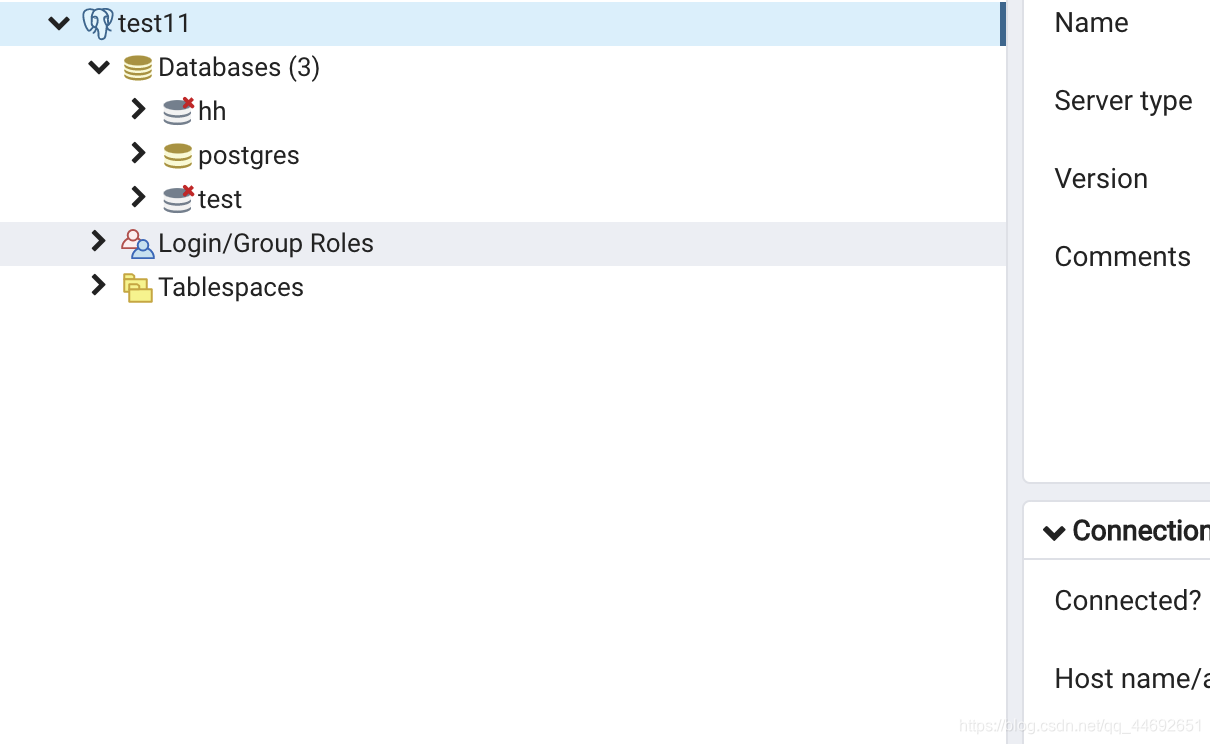
走到这里,基本上可以在代码里疯狂玩耍了
本博客所有文章除特别声明外,均采用 CC BY-NC-SA 4.0 许可协议。转载请注明来自 Erebus's Blog!
评论